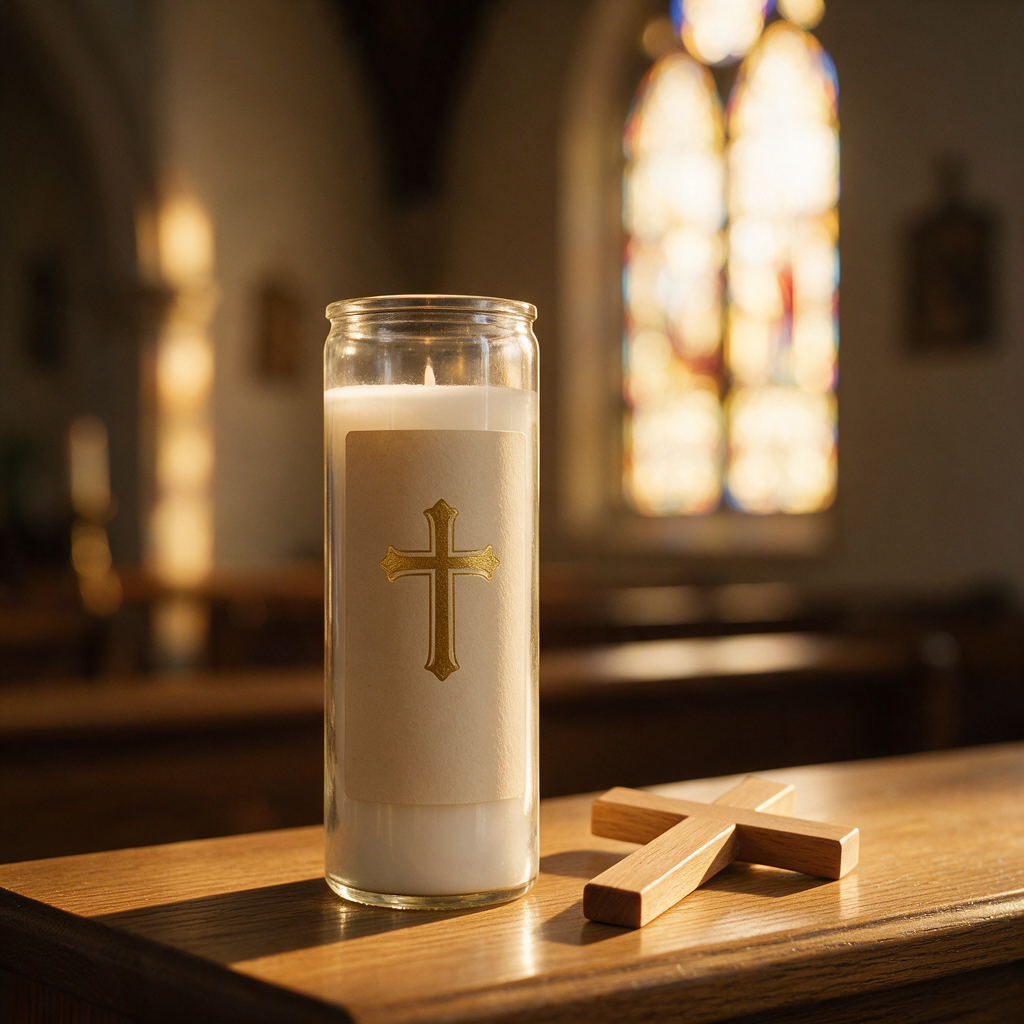
Walk into any church gift shop and you will see rows of votive candles and 7-day prayer candles in glass jars. They look simple enough — wax, wick, glass. But how do they actually get made?
Having worked in candle manufacturing for over a decade, we want to pull back the curtain and show you the full process. From raw wax to packaged product, here is how votive candles and prayer candles are made in a modern factory.
Step 1: Raw Material Preparation
Before any candle is poured, the raw materials must be carefully selected and prepared.
Wax
The type of wax determines the candle's burn characteristics, cost, and quality level. The most common types are:
- Paraffin wax — the most widely used. Clean burning, consistent, affordable. The standard for most votive and 7-day prayer candles.
- Soy wax — a natural, renewable option. Burns cleaner but softer, so it requires different formulations for container candles.
- Beeswax — the premium natural option. Beautiful golden color, subtle honey scent, and the longest burn time per ounce. Used for high-end religious candles, especially in Orthodox traditions.
- Palm wax — another natural option that creates a beautiful crystalline surface texture.
Most religious candles use a specific grade of paraffin wax chosen for its ability to hold fragrance, burn cleanly, and release evenly from molds or stay put in glass containers.
Wicks
The wick is the most underestimated part of a good candle. Pick the wrong wick and you get tunneling (the wax melts down the middle only), smoking, or the flame going out.
- Votive candles usually use flat-braided cotton wicks
- 7-day glass jar candles use specially sized wicks for the diameter of the jar
- All quality candles use lead-free wicks
Fragrance oils & dyes
For scented candles, high-quality fragrance oils are carefully measured and added. For religious candles, common fragrances include frankincense, myrrh, sandalwood, rose, lavender, and jasmine. Dyes are optional — many devotional candles are natural white or cream colored.
Step 2: Wax Melting & Mixing
The first production step is melting the wax in large stainless steel tanks called melting kettles. These are heated to precise temperatures — usually between 140°F and 180°F (60-82°C) depending on the wax type.
Once the wax is fully molten:
- The temperature is carefully controlled with thermometers and heating elements
- Fragrance oils are added and thoroughly mixed (this step is critical — poor mixing means uneven scent distribution)
- Dye is added if the candle will be colored
- Additives like stearic acid or vybar may be mixed in to improve hardness, opacity, and fragrance retention
Factory secret: The temperature at which fragrance is added matters enormously. Add it too hot and the fragrance can evaporate or break down. Add it too cool and it will not mix evenly. Every factory has its sweet spot.
Step 3: Wick Preparation
While the wax melts, the wicks are prepared. For votive candles and pillar candles, wicks are pre-cut to exact lengths and sometimes pre-waxed (primed) to help them light easily and burn steadily.
For container candles (like 7-day glass jar candles), the wick is attached to a small metal tab (called a wick tab or sustainer) at the bottom. The tab is then glued or pressed into the bottom of the glass jar to keep the wick centered and upright during pouring and burning.
Proper wick centering is essential. A wick that touches the side of the glass can cause the jar to overheat or even crack.
Step 4: The Pouring Process
This is the step everyone pictures when they think of candle making — but in a factory, it is far more systematic than hand-pouring.
For molded votives and pillars
- Molds (usually aluminum or polycarbonate) are arranged on racks
- Wicks are threaded through the mold and secured top and bottom
- Molten wax is poured into each mold, either by hand or using automatic filling machines
- The candles cool and solidify
- Once cool, they are removed from the molds (demolded)
For container candles (7-day glass jar candles)
- Glass jars are cleaned and inspected for defects
- Wick tabs are secured to the bottom center of each jar
- Wax is poured directly into the jars at a carefully controlled temperature
- Wicks are held centered by wick bars or clips during cooling
- The candles cool and set in the jars
Large factories use automated filling lines that can pour thousands of candles per hour with consistent volume and temperature.
Step 5: Cooling & Curing
After pouring, candles must cool slowly and evenly. If they cool too fast, the wax can crack, pull away from the sides (in container candles), or develop surface imperfections.
Cooling time depends on the candle size:
- Votive candles: 2-4 hours
- Pillar candles: 6-12 hours
- 7-day glass candles: 12-24 hours
Many candle types develop a "sinkhole" in the center as the wax cools and contracts. This is normal and fixed by a second pour (called a "top-up" or "re-pour") that fills in the depression and creates a smooth, even top surface.
Step 6: Finishing & Trimming
Once fully cooled and cured, the candles go through finishing:
- Wick trimming — wicks are trimmed to the ideal length (usually 1/4 inch for container candles)
- Surface inspection — any candles with cracks, bubbles, or uneven surfaces are set aside
- Label application — labels are applied by hand or with labeling machines. For custom labeled orders, this is where the customer's branding goes on.
- Quality check — every candle is checked for weight, wick position, and cosmetic appearance
Step 7: Quality Control & Testing
Reputable candle factories test their products before shipping. Quality control includes:
- Burn testing — sample candles from each batch are lit and monitored for burn time, flame size, soot production, and wick behavior
- Weight check — ensuring every candle meets the stated weight
- Fragrance evaluation — smelling test candles to confirm the scent is correct and consistent
- Safety testing — checking for glass overheating in container candles, flame height, and extinguishing behavior
- Packaging drop test — making sure candles survive shipping without breaking
For religious candles sold in glass jars, safety is especially important. These candles are often burned for extended periods in churches and homes, so they must be thoroughly tested for safety.
Step 8: Packaging & Shipping
Finally, the finished candles are packaged for shipping:
- Votive candles are often packed in cardboard trays within master cartons
- Glass jar candles get individual dividers or bubble wrap to prevent breakage
- Retail orders get retail packaging (boxes, blister packs, etc.)
- Wholesale orders are packed in bulk cartons with packing slips
- Samples are carefully wrapped and sent by express courier
How Long Does the Whole Process Take?
From raw wax to finished, packaged candles:
| Product Type | Production Time | Curing Time | Total |
|---|---|---|---|
| Votive candles (standard) | 1-2 days | 2-3 days | 3-5 days |
| 7-day glass candles | 2-3 days | 3-5 days | 5-8 days |
| Custom labeled orders | 3-5 days | 3-5 days | 7-10 days |
| Full OEM / new mold | 15-25 days | 5 days | 20-30 days |
Then add shipping time: 3-7 days by air, 18-30 days by sea.
The Difference Between Cheap and Quality Candles
You might wonder why some votive candles cost $0.20 each and others cost $1.50. The difference is in the details:
- Wax quality — cheap wax burns dirty, smokes, and tunnels. Good wax burns clean and even.
- Wick quality — cheap wicks can smoke, mushroom, or go out. Quality wicks are matched to the wax and container size.
- Fragrance load — cheap candles use cheap fragrance oils and less of them.
- Quality control — cheap factories skip burn testing and cosmetic inspection.
- Glass quality — cheap glass can crack or shatter from heat. Quality glass is heat-tested.
For religious candles that will be burned in churches or homes, it is worth paying for quality. Safety and reliability matter more than saving a few cents per candle.
Want to See More?
If you are considering buying wholesale candles and would like a factory tour (virtual or in-person), or if you want samples to test the quality yourself, get in touch with PrayKits. We are happy to show you our facility, walk you through our QC process, and send free samples.
Looking for a reliable candle manufacturer?
PrayKits makes quality religious candles at competitive wholesale prices. Request a free sample pack.
Contact Us Today